
I love the i-cord cast-on because it gives a perfectly smooth edge to your work! I’ll show you how to knit the i-cord cast-on. Once you get the hang of it, it’s pretty simple to do. You can use whatever needles you’re using for your knitting project, you don’t need double pointed needles for the i-cord cast- on. Here are the steps:
- Cast on 3 stitches using the knitted cast-on.

2. Knit into the first stitch without dropping the original stitch from the left-hand needle.  3. Knit into the back of the same stitch and let the original stitch fall from the left-hand needle. You have just performed a kfb, or knit into the front and back of a stitch, increasing your stitch count by one.
  4. Knit 2 stitches.
You now have 4 stitches on your right-hand needle.  5. Slip 3 stitches, purlwise, from your right-hand needle to your left-hand needle.
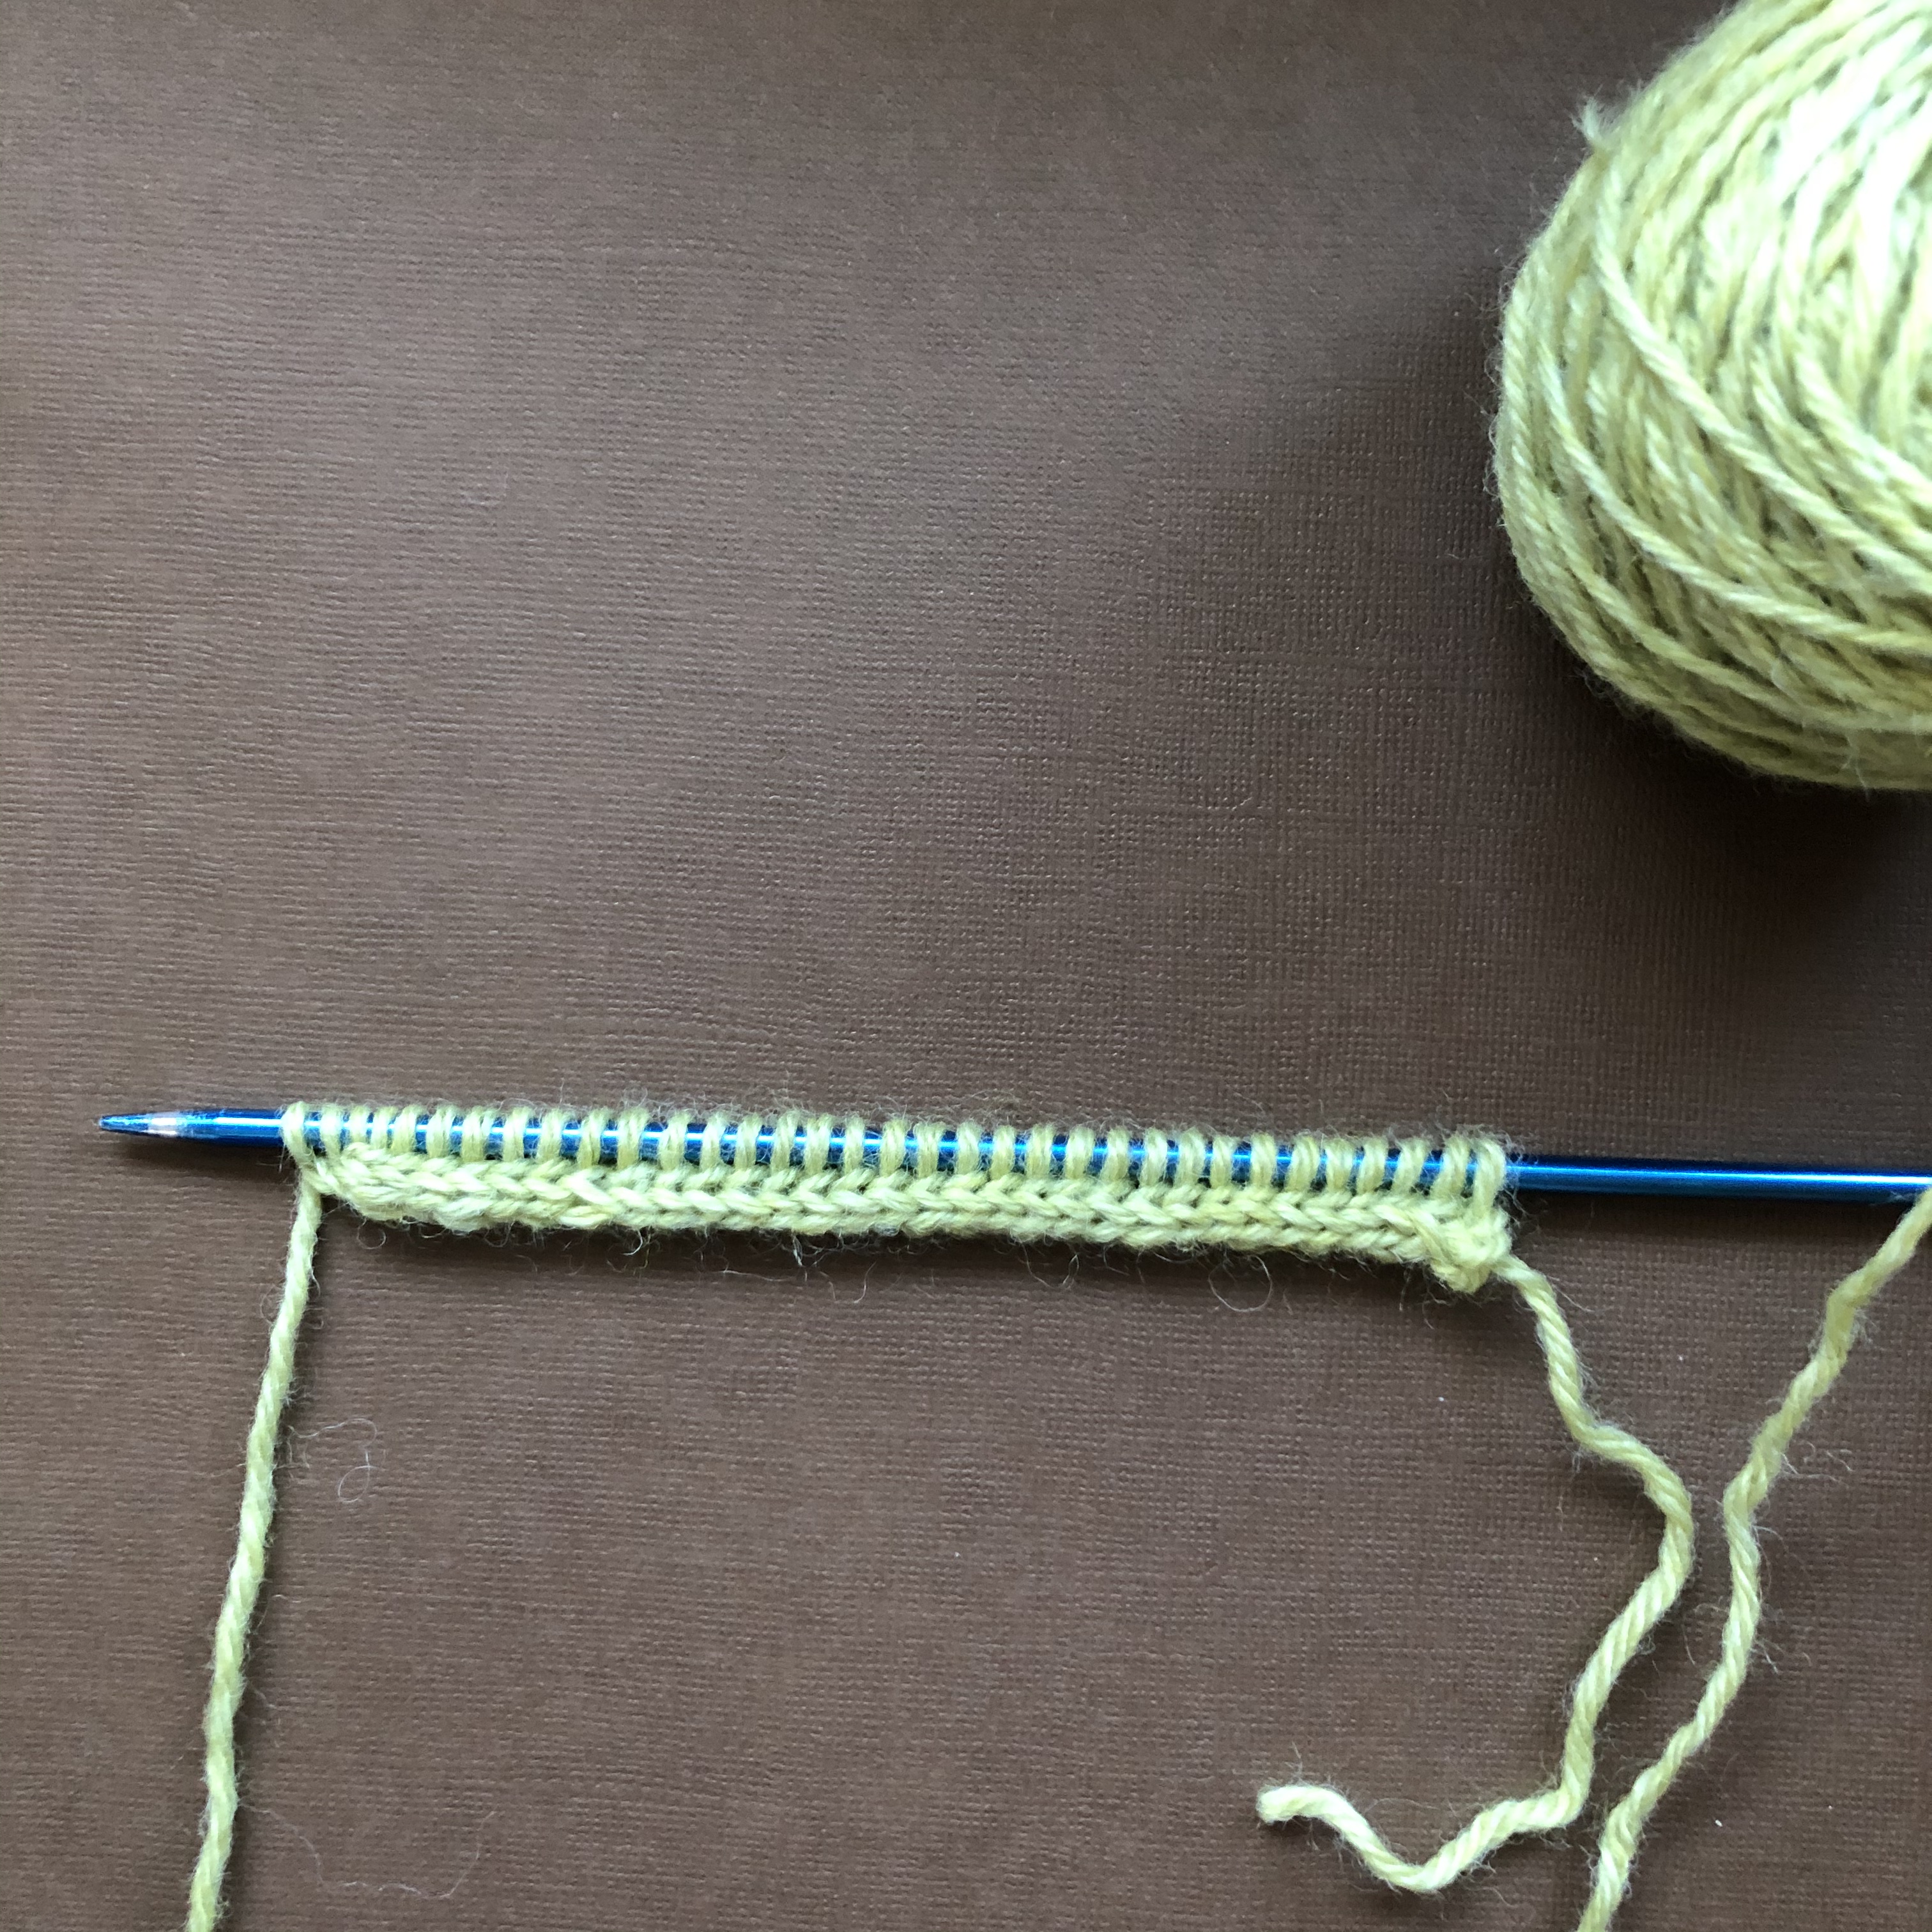
  Repeat steps 2-5 until you have the desired number of stitches. Don’t forget to include the 3 i-cord stitches when counting your total. When you have the required number of stitches, don’t slip the 3 stitches back to the left-hand needle. Just turn your work and start knitting. I like to start with a wrong-side row because I think the other side of the i-cord cast-on looks nicer, but that’s just my preference.
I used Knit Picks Swish yarn in this tutorial. Now that you know how to knit the i-cord cast-on, you can learn how to do the matching i-cord bind-off here. Try out your new i-cord skills by knitting my free pocket shawl pattern, Inanna.


One thought on “Tutorial: I-Cord Knitting Cast On”